Whitewash Tips

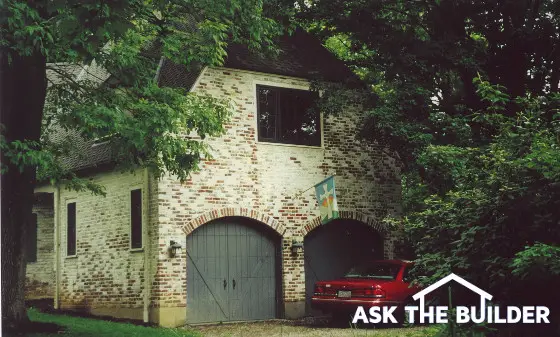
Whitewash Recipe | I took this photo over twenty years AFTER I put on the whitewash. It looks identical to when I applied it. You'd NEVER get paint to last that long. © 2017 Tim Carter
Whitewash Application Checklist
- Blend all materials first before adding water
- Slake the hydrated lime - Do NOT stop stirring!
- Mix a test batch
- Keep accurate records of material amounts
- CLICK HERE to Get Tim's FREE & FUNNY Newsletter!
Whitewash Application - It's Not Hard to Do
When I looked at the specifications for the room addition job years ago, I thought I was seeing things. The architect had actually specified a whitewash finish!
It made sense after you went to the job site to look at the original home. The house was built in the 1920's and looked like an English cottage.
It looked to me as if it was painted white and was simply in need of a new paint job but what I was looking at was a magnificent whitewash finish that was about 35 years old.
CLICK HERE to get FREE & FAST BIDS from local painters who can apply whitewash for you.
Whitewash Doesn't Peel
One of the things that amazed me was the fact that the finish on the house was not peeling. There were bare brick in places and some places where you could barely see through to the brick below but that was intentional.
The original painters had varied the thickness of the whitewash and actually left it off in places to simulate a faded or worn look. How clever of them!
My challenge was to duplicate this old look on a new room addition. I'll cut to the chase. I did it and if you were to drive up to the job site today you could not tell the difference between old and new. It took a few experimental attempts, but my painters and I got the job done.
This SoundCloud player as of January 23, 2022 is NOT ADA compliant. It has color contrast issues. I reached out to SoundCloud to have them repair it. It's their source code that creates the image below.

CLICK this image and listen to the third call on the podcast. I talk to Sandy about how she can use whitewash on her painted brick home. Copyright 2018 Tim Carter
What's in Whitewash?
Whitewash formulas and recipes can be somewhat different. CLICK HERE to see the secret whitewash recipe I used.
Some reference all sorts of different ingredients, but the most important two are hydrated lime and table salt.
Hydrated lime is a magic powder that does something special once mixed with water. When you add water to lime a chemical reaction begins. Millions of tiny crystals start to grow.
These crystals allow the lime or whitewash to tenaciously grab onto whatever it is applied to. It is not unlike the small briars that stick to your socks and pants when you walk through the woods. I've gone to all this trouble to write all about whitewash because I don't want this knowledge to transition from history to legend to myth.
There are other strange ingredients in different whitewash recipes. I can't tell you what they do or how they affect the final product since the whitewash I used only contained hydrated lime and salt.

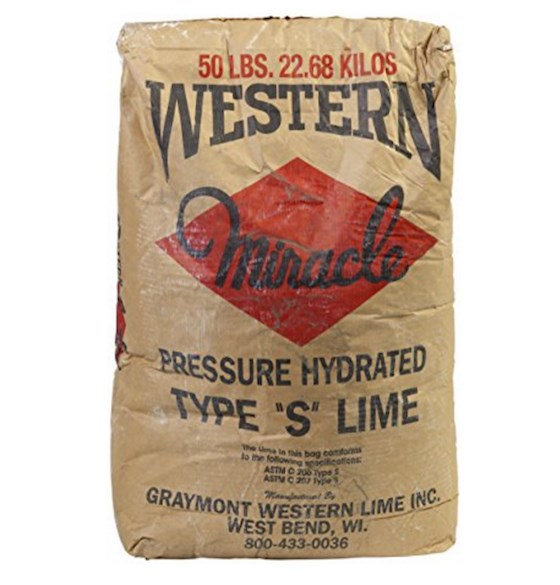
This is excellent hydrated lime. It's a fine white powder and it's going to look great on your home. CLICK THE IMAGE TO ORDER SOME RIGHT NOW.

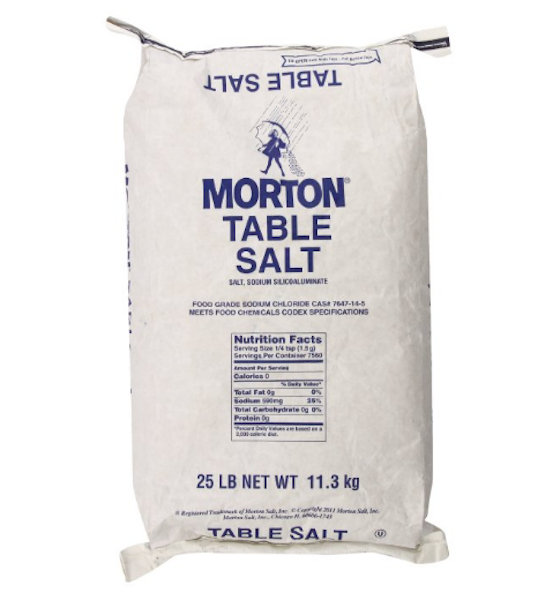
Here's a giant bag of salt. You may need two or three depending on how much whitewash you mix up. CLICK THE SALT BAG NOW TO ORDER IT.
Whitewash Installation Tips
Once you mix up whitewash you usually don't have to use it right away. In fact some of the recipes want you to let it sit overnight or for a day before you apply it.
It is also a great idea to make sure the surface you are applying it to is clean and damp. The lime crystals will penetrate deeper into the wood or the masonry if it's slightly wet.
The whitewash usually goes on blotchy. It looks like it is not covering well. But wait till the next day! If you put on a normal coat as you would paint, it dries a brilliant white.
The best thing to do is to experiment on small areas. See what you think about how white it turns out.
Add Color To Whitewash
Whitewash doesn't have to be white. You can make it look dirty by adding charcoal dust. You can make it look yellow by adding dry shake pigments.
There are all sorts of ways to color it. The key is to experiment!
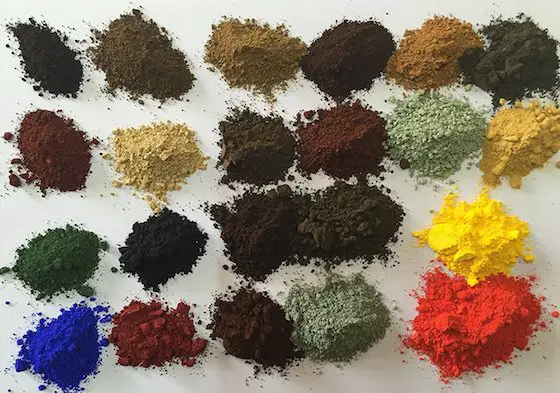
When you work with dry pigments like you see in the photo below, it's mission critical to keep precise records of how you're mixing the batches.
Mix small batches and carefully note the concentrations. Always let it dry for several days to see the final color.

Here are just a few of the many many pigments available. You can blend different pigments to get different shades that you don't see here! CLICK THE IMAGE TO BUY ANY WHITEWASH PIGMENT YOU WANT.
Working with Colored Whitewash
Even if you go to great lengths to make sure you measure the lime, salt, pigments and anything else exactly, there's a chance you can get the shade off just a little bit. To minimize the chances of seeing this issue, always have enough of one mixed batch that will allow you to get to an outside or inside corner of where you're working.
A color issue halfway down or across a wall will be noticeable. But shadows at corners hide these imperfections.
Remember, the key to success with whitewash is experimentation. You want to try it on a test wall or some spot to get the feel and look of it. Wait till you see it!
Column B366
13 Responses to Whitewash Tips