How To Caulk Baseboards
How to Caulk Baseboard TIPS
- Use best caulk - CLICK HERE to buy
- Use best caulk gun - See Below
- Watch my caulk videos Below!
- Dress caulk joint with grout sponge
- CLICK HERE to Get Tim's FREE & FUNNY Newsletter!
DEAR TIM: Can you tell me how to caulk baseboards? I thought my new paint job was looking great until all sorts of black lines showed up where there were gaps between the baseboard woodwork and the walls. I don't remember seeing that in other houses, so I must be doing something wrong.
What caulk should I use? How do you get a smooth line, as my caulking always looks smeared? When is the best time to caulk if you are installing new baseboard and trim? Kirsten P., White Plains, NY
DEAR KIRSTEN: You aren't the first person to ask how to caulk. Caulk is one of those under-appreciated building products that people tend to forget about when they do interior-painting projects. But caulk is one of the most-valuable products used by professional painters and those seasoned do-it-yourselfers who know the secrets of the pros.
CLICK HERE to get FREE & FAST BIDS from local painters who can caulk for you.
Applying caulk is a skill that is fairly easy to master. There are many different ways to do it, but I will share with you the method I have used for years that has worked well. The first thing to do is get a caulk that is easy to use and cleans up with water.

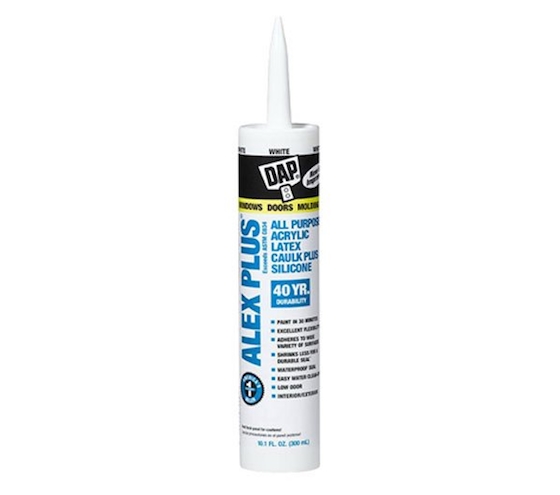
I've used DAP caulk for years. It's great. The more expensive a caulk it, generally it performs better. CLICK THE IMAGE TO ORDER IT NOW.
The Best Caulk
I prefer to use caulk that is blend of acrylic and silicone. These are very common caulks you can find at a paint store, hardware store or a home center. Look for a caulk that costs more. These caulks tend to have better ingredients, and they will last longer. Read the labels on the tubes of caulk, and try to find one that says it has the least amount of shrinkage.
Note that the caulks come in different colors. You may want to pick a color that is close to the color you will paint your baseboard. This is a moot point though if your baseboard and walls are radically different colors. In cases like this, white caulk will do fine.
The tools you will need are simple. You need a caulk gun, a putty knife, a razor knife, a tile-grout sponge and a bucket. There are huge differences in caulk guns. My favorite is one that cost about three times what the cheap ones cost.
CLICK HERE to get FREE & FAST BIDS from local painters who can caulk for you.
The Best Caulk Gun
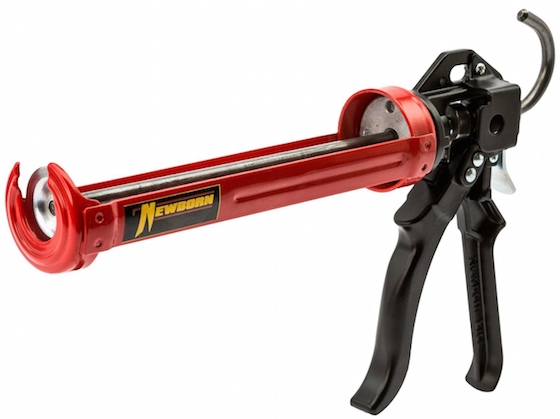
The cheap caulk guns have notches in the ram-rod plunger. The ram rod on mine is smooth. You have to squeeze the handle on my gun about three times to get it to travel the distance you get with one squeeze of a cheap caulk gun. My caulk gun has an 18:1 ratio giving me incredible control.
You may think this is extra work, but the effort gives you amazing control over the amount of caulk that flows from the tube.

My caulk gun is just like this one. Once you use a gun like this, you'll throw away the one you have that has the click notches. They're pieces of crap. CLICK THE IMAGE NOW TO ORDER THIS GUN.
Prime the Wood
I prefer to caulk baseboards and trim after they have a coat of primer on them. Caulking bare wood can be problematic as it can be difficult to remove caulk from the wood grain.
It's also easier to see the areas that need caulk if the wood is painted a light color. The gaps show up as the unsightly lines you currently see in your woodwork.
Cut the Perfect Hole
The size and angle of the hole at the end of the caulk tube is mission-critical. If you make it too big, far too much caulk flows from the tube. If the hole is too small, then you work too hard to fill the gaps. I have found that a hole size just over 1/16th inch seems to be perfect.
The angle of the cut should be about 45 degrees. Always cut small amounts off the end of the tube at first. If you think you know where the 1/16-th-inch spot is and feel lucky, go for it. Most rookies make a mistake and the hole ends up too big.
Work Small Amounts
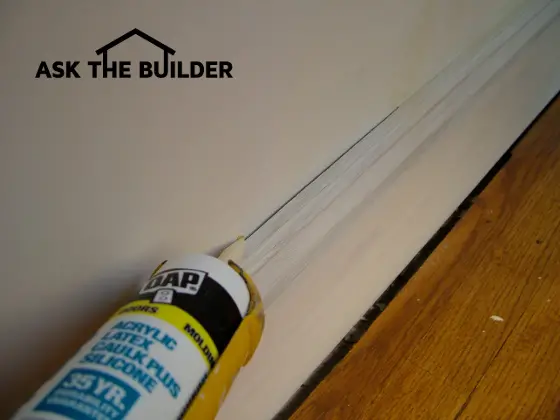
I usually caulk about 24 inches of gap or crack at a time. The trick in to hold the caulk gun at about a 30-degree angle to the crack and squeeze the handle so an even amount of caulk flows from the tube.

This is how you need to hold the caulk gun. Only do a short distance so you can tool the caulk. © 2017 Tim Carter
You want the caulk to be slightly higher than the top of the gap or crack. As the caulk exits the tube, you slide the caulk gun along the gap. If you move too quickly, the gap will not get filled. If you move too slowly, lots of caulk will build up above the cracks.
Release the Pressure
Set the caulk gun down making sure you release the pressure so the caulk stops flowing from the tube.
Use your finger to smooth the caulk. You know you put the perfect amount of caulk on the gap if there is a very small amount of caulk on the tip of your finger as you complete the wiping stroke.
Sponge for Pro Look
Use warm water to finish the caulk joint. Add a little bit of liquid dish soap to the water to help make the water slippery.
Grab the sponge and squeeze all of the water out of it. Immediately wipe it across the caulk joint to feather the edges of the caulk and remove any excess you left behind. Rinse the sponge and repeat. Glide the sponge softly across the caulk so you do not remove any from the gap.
Shrinkage
Large gaps or cracks can be very problematic. You will fill them with caulk and they look superb. But the next day when you go to paint, there is a huge valley where the caulk has shrunk. This happens because the water leaves the caulk and the solid materials are left behind to fill the gap. You can use foam caulking cord to fill the gaps before you caulk to minimize shrinkage.
Allow the caulk to cure and harden before you paint. If you try to paint minutes after caulking, the paint-brush bristles will remove the caulk from the gap.
Use the putty knife to remove excess caulk from places in the woodwork that get filled with excess caulk. You want to do this just after you wipe the caulk with the sponge.
Watch these caulk videos:
CLICK HERE to get FREE & FAST BIDS from local painters who can caulk for you.
Column 716
8 Responses to How To Caulk Baseboards