3D Perspectives – Shelving Construction
3D Shelving Construction Perspectives
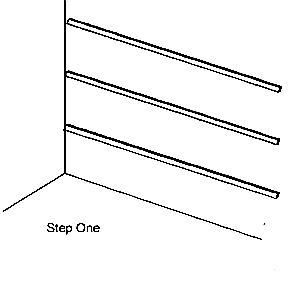
Start the project by attaching the 2x2's to the back wall. Don't forget about the Three Inch Rule for clearance purposes!
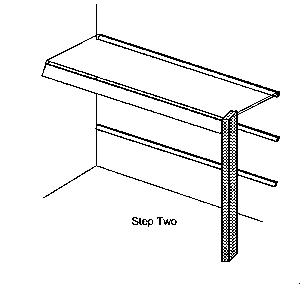
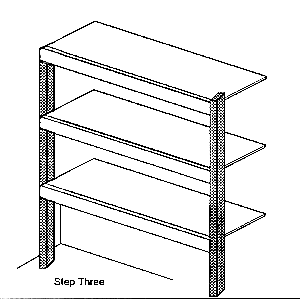
Simply put, if you want to slide a 12 inch object onto a shelf, the top of the 2x2 support for the shelf above must be 15 inches higher than the shelf where you intend to store the object. The thickness of the shelf and the height of the 2x3 account for the three inch difference. Install the top shelf first once all 2x2's are in place. With the shelf drooping after it has been attached to the 2x2, immediately attach a vertical 2x4 leg at each corner. With the 2x4's in place, the rest of the shelves install in a jiffy! Be sure to level the shelves front to back as you attach them to the vertical 2x4 legs.

|

|

|
I have only drawn three shelves in this 3D perspective view. I did that for the sake of simplicity.
You may only decide to do three shelves or possibly six or seven. I guarantee you that once you build your first set and see how strong they are, you will be building more.
Keep in mind that you can actually place a shelf upside down if you need a curb to restrain balls or other objects. If you decide to do this, be sure to screw the shelf into the 2x3 with two inch long screws at six inch intervals.
Column B249
One Response to 3D Perspectives – Shelving Construction