Bricks

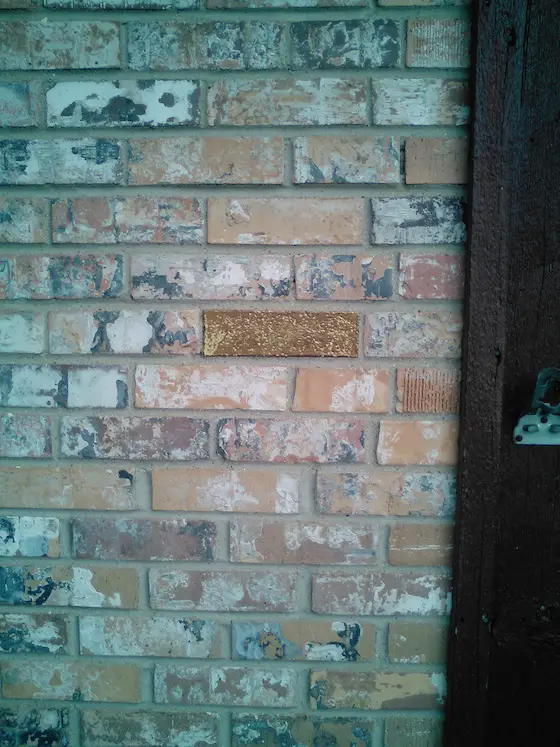
You can clearly see the gold brick. Photo credit: Threasa Brown
Brick is a popular building material for many reasons. If you purchase a high quality one and it is installed correctly on your new home, it rarely, if ever, requires any maintenance. The multi-color earth tones of brick add vast amounts of character to many architectural styles. Brick's dense composition helps to protect the inside of your home from the unwanted noises of everyday life that often overflow from the city and suburbs and into your private part of the planet.
How do you properly install bricks?
But what is involved in making sure the brick is installed correctly? The building code speaks to this question, in some respect, but if you want great results your builder and bricklayer have to spend more time and effort than the code requires.
It is impossible to cover all of the important bricklaying steps in sufficient detail in this short column. Entire books and countless technical booklets have been published describing the process from start to finish. But suffice it to say, there are some basic things that must be done to insure the brick performs well and the inside of your home stays dry.
Are brick homes waterproof?
Brick homes are by no means waterproof. The industry has known this for years. Water can and does seep through the mortar joints where the mortar touches the brick. Water can actually pass through certain brick or ones with cracks in them. Water infiltration is worst during storms where wind and rain pound one or more exposures of your home. The force of the wind actually pushes water deeper and deeper into the wall until it appears on the back of the brick and runs down inside the wall cavity.
Since we know water gets in the hidden wall cavity, your builder must make sure it never contacts anything made from wood. This water is the necessary missing ingredient that can trigger mold growth and wood rot. The first step is to make sure the house has a water barrier installed that shields the wood framing and sheathing components from water contact. Windows and doors that penetrate these membranes must be flashed so that water can't get behind them.

Metal Flashing
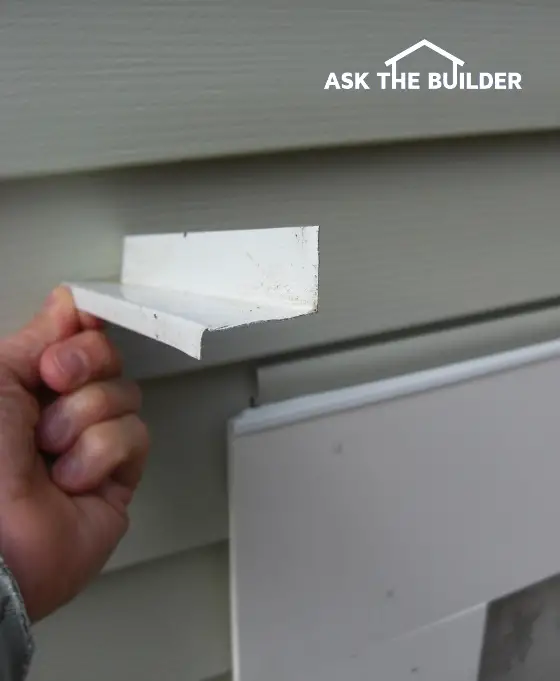
Additional flashings that integrate into the brick must be installed under the first course of brick that sits on top of the foundation. This continuous flashing must extend up the wall of the home and behind the water barrier that keeps the water off the wood framing. Where this flashing wraps around outside and inside corners, it must be fitted, trimmed and sealed so that water can't leak past it at these critical locations. This same flashing material must be used below and above each window and door of the entire house. The flashings need to project out past the face of the brick approximately 3/8 inch so that water can drip off and drop to the ground. Weep holes should be spaced no greater than two feet apart at any location where flashing is placed under a course of brick.

Brick Mortar
A task as simple as adding mortar for the next course of brick is very critical. The bricklayer must not apply too much mortar. When the brick is placed into position, mortar oozes out around the base of the brick. The bricklayer can easily capture and remove the excess mortar on the front side of the wall. But it is impossible to get the mortar that droops down in the void space between the back of the brick and the frame wall. If this mortar falls off and drops into the void space, it can begin to collect and block the weep holes that allow water to escape from behind the brick wall.
CLICK or TAP HERE to get FREE quotes from local companies that will install or repair your brick work.
This excess mortar can also touch the frame wall part of your home and create a bridge. Bridging is bad because it can create a transfer spot where water jumps from the back of the brick to the frame wall of your home.
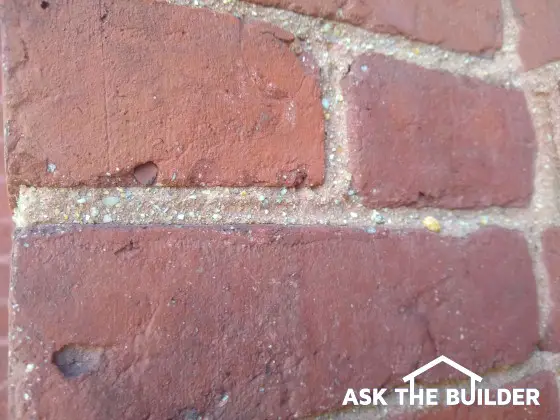
Another important aspect is the simple tooling of the mortar joint. Different mortar joint styles exhibit vastly different waterproofing characteristics. The most waterproof joint is the common concave joint that looks like a person rubbed their thumb over the wet mortar. Specify this tooling style on your new home.
Column NH035