Drywall Corner Tips

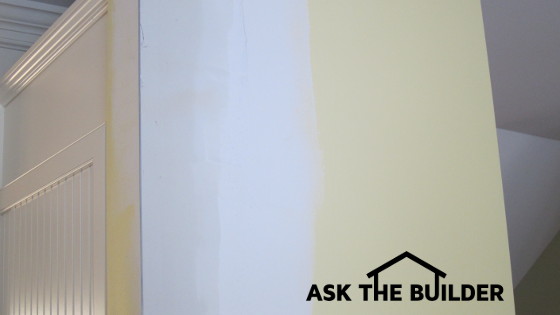
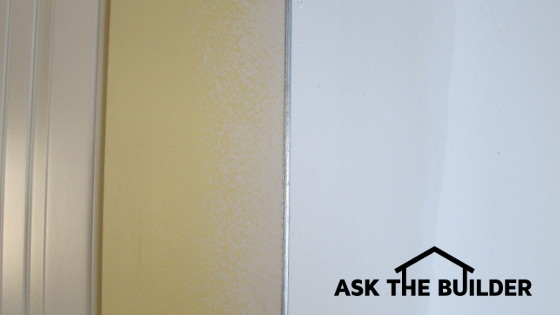
You can't see it because it's covered with drywall compound, but there's a metal corner bead at each end of this small wall. It needs to be expertly installed for pro results. PHOTO CREDIT: Tim Carter
DEAR TIM: It's time to hang and finish some drywall in a small room. This room has a pipe chase in it which means I have to finish an outside corner. I know how to do inside corners with tape, but every time I try an outside corner, the metal corner bead shows through. It looks horrible. Can you share some secret tips on how to install and finish an outside drywall corner? Sharon T., Palm Coast, FL
DEAR SHARON: Your challenge reminds me of the first few times I had to finish an outside drywall corner. Oh, did I ever struggle! I didn't have a pro show me how to do it, so it took some trial and error. Besides, back in the 1970's, we didn't have the Internet and all the wonderful free videos to watch. I've taped quite a few videos to show how this is done, and they are at my website.
The first thing to realize, and this could be out of your control, is the rough framing lumber on outside corners needs to be as straight as possible to achieve great results. Much of today's lumber is twisted, bowed and has very bad crowns to it. If you're building an outside corner, pick the best lumber for this location. The same is true for doorway rough openings.
The next issue you can have with outside corners is the actual drywall itself. There are two common mistakes that rookies make. The most common is jagged drywall hanging out past the plane of the wall on either side of the corner.
If you don't use a sharp razor knife and make a deep cut when you score the drywall, when you snap the drywall to make the finish cut on the backside, the edge of the drywall looks like a miniature mountain range. If this ragged drywall hangs over the wall plane, the metal corner bead will not lay flat on the wall surface on each side of the corner.
The second mistake you can make is hanging a sheet of drywall vertically that has a factory tapered edge. You may feel that putting the tapered edge of the drywall up at each corner is a good thing. In most cases, it makes finishing the metal corner bead more of a challenge. If you're an expert finisher, you can do corners this way as it makes it far easier for a finish carpenter to install ceiling crown molding. But let's not go there right now.
Once you have the drywall installed correctly, it's time to install the metal corner bead. Pros use a special tool that centers and pinches in the metal so the bead fits perfect. I'd invest in one of these tools if you were going to do lots of corner bead, but not for just one corner in one room.

The mistake I made many years ago, and I feel you've made before, is flattening out the bead on the corner and/or twisting it as you apply it. The real trick is to create an acute angle with the corner bead. This means the finished corner would not be 90 degrees, but some angle slightly less than 90 degrees.
You achieve this acute angle by pinching the metal bead ever so slightly on the corner so the outside corner of the metal bead is puckering just a little bit and it actually is not in contact with the drywall as you near the corner.
In most corner beads, you'll see tiny holes out at the edge of the metal. These are the holes for the nails. Don't nail through the larger diameter holes. Those are for the joint compound to ooze through.
Always nail both sides of the bead at the same elevation. Don't nail one side of the bead top to bottom and then move to the other side. Tack the bead in place just partially securing it to the drywall and use an 8-inch broad knife on its edge to ensure the blade only touches the actual outside corner of the metal bead and then the drywall about 3 inches away from the corner. The void space is what you fill with joint compound.
If you have to do an archway or a soffit corner where two or more outside corners meet one another, always miter cut the metal corner bead so it doesn't overlap the adjacent piece. You can't have layers of metal on top of one another.
Hammer the nails slowly so you never strike the actual outside corner of the metal bead. Don't beat the nails in at the edge of the bead. This is finish work. They just have to be recessed enough so they're covered with about 1/16th inch of drywall compound.
You can't check the position of the bead often enough as you nail. Constantly use the broad knife to ensure the beat is pinched and it's centered on the corner. If you start to twist the bead, one side of the corner will end up with exposed metal and never get covered properly with drywall finishing compound.
Column 907