Hardwood Floor Finish Repair
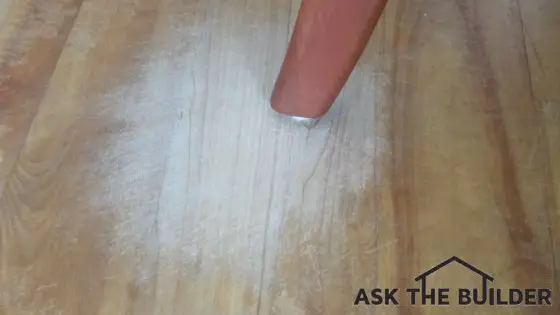
This hardwood floor has been damaged by the chair legs. It can be easily repaired. Photo Credit: © Copyright 2017 Tim Carter
Hardwood Floor Finish Repair TIPS
- Hard to ruin floor at this point
- Practice staining on a piece of scrap hardwood
- Wood must be smooth as silk before stain
- Use wood conditioner on soft woods
- CLICK HERE to Get Tim's FREE & FUNNY Newsletter!
DEAR TIM: There are several places on my hardwood floors where bare wood is showing. The finish and stain have been worn off.
Some floors have been stained and others are natural. Money is tight and I simply can't afford to have the floors completely refinished.
Is it possible to make repairs to the floors and have the damaged areas look great? Is this a DIY job? How would I proceed? Holly B., Attleboro, MA
DEAR HOLLY: Your situation reminds me of a remodeling job I did many years ago for a demanding architect at his own home.

CLICK this image and listen to the first call on the podcast. I talked to Jill about how to repair wood kitchen flooring, and possibly installing an inlay border as an option. Copyright 2018 Tim Carter
Perfect Match
Part of the job was installing some new oak parquet flooring at a doorway. The existing floor was stained and the new flooring had to match both in finish sheen and color.
The customer was skeptical that I could do it. Guess what? I got a perfect match and so can you!
Only Gets Better
Here's what you need to realize starting this repair. You can't make the floors look any worse than they are. Just about anything you do will be an improvement.
Test First
That being said, I do suggest that you practice what I'm about to share on some scrape pieces of hardwood flooring if you can get some from a local business that installs hardwood. Call them and you'll be able to get some scrap wood easily.
The most important thing to test is the staining of the wood in case you've never done it before. If you stain your real floor too dark, it's not easy to make it lighter. You can always darken up a spot by adding pigment to subsequent coats of the clear finish.
Sand Away
The first thing to do is to sand the damaged areas. If there are deep scratches, you'll have to use coarser 60-grit sandpaper to start the process.
I prefer to use aluminum oxide sandpaper. It's usually light brown in color. I like it because it self-sharpens itself as you use it.
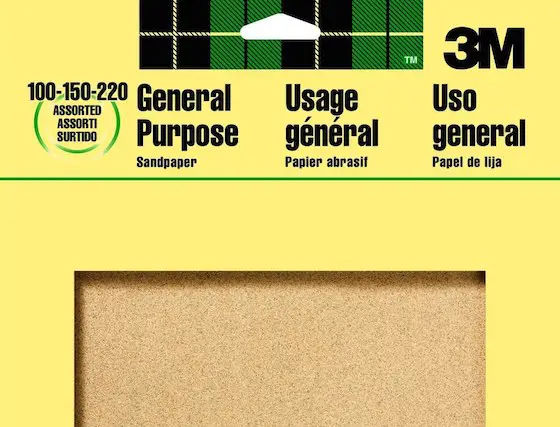
Here's an assorted pack of aluminum oxide sandpaper that will do a great job on soft wood. CLICK THE IMAGE TO ORDER IT NOW.
Only use this coarse sandpaper in the area of the deep scratches. You will be using several different grits of paper from coarse to very fine to complete the sanding.
Hand Sand Small
You can sand by hand if you have smaller areas less than 6 inches square. Be sure to use a sanding block. A sanding block keeps the sandpaper flat so you get a nice finish.
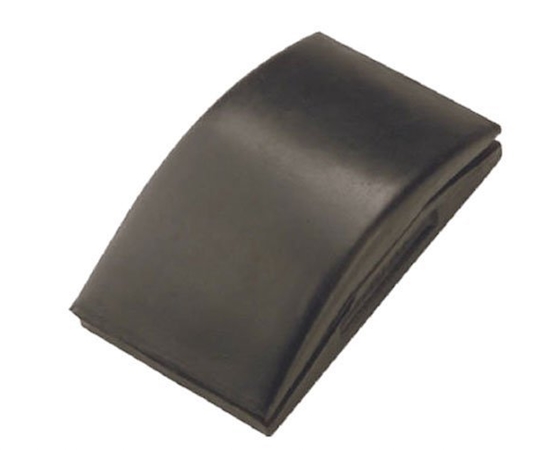
Here's a plain vanilla hard rubber sanding block. It's perfect for small areas. CLICK THE IMAGE TO ORDER IT NOW.
Palm Or Orbital Sander
If you have access to an electric palm sander, this tool will make the job go faster. An orbital sander that rotates is even better as it will prevent gouges in the wood.
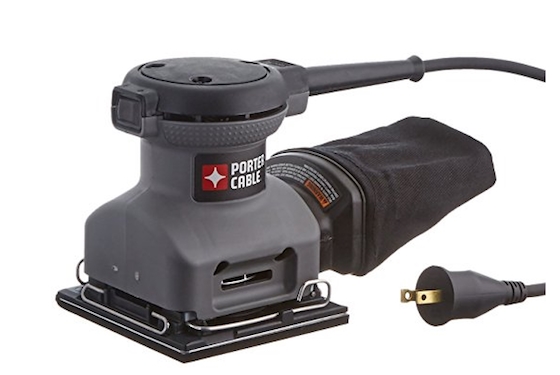
This is a marvelous brand-name palm sander at a great price. It's made to take a 1/4 sheet of ordinary sandpaper so there's no waste. CLICK THE IMAGE NOW TO ORDER IT.
Extend Sand Patch
Sand the damaged area and extend the sanding to the edges of the floor that are not damaged as you use the fine-grit sandpapers.
Just go over onto these edges about an inch.
Fine Grit Paper
Use finer grits of sandpaper advancing finally to 240 grit. Aluminum oxide sandpaper, it's usually a medium brown color, is a great paper to use for this project. The wood needs to be as smooth as glass before continuing.
Remove Dust
Remove all dust with a vacuum that exhausts outdoors if possible.
IMPORTANT TIP: I don't care if you shop vac has a new filter, do NOT use this machine if it's exhausting the air in the room. Fine dust you can't see will be sent into the air and it will float down on the finish hours from now.
Wipe the sanded area with a tack cloth. If the floor is natural with no stain, the next step is to apply the first coat of finish.
Wiping the wood with a rag soaked in mineral spirits also picks up dust well. Remember, these rags can't be thrown away. They'll spontaneously combust starting a fire. Burn them once you're done.
Water-Based Urethane
Floor urethane comes in both oil and water-based formulations. The water-based urethanes typically will be crystal clear when they dry, and will not impart any color to the wood.
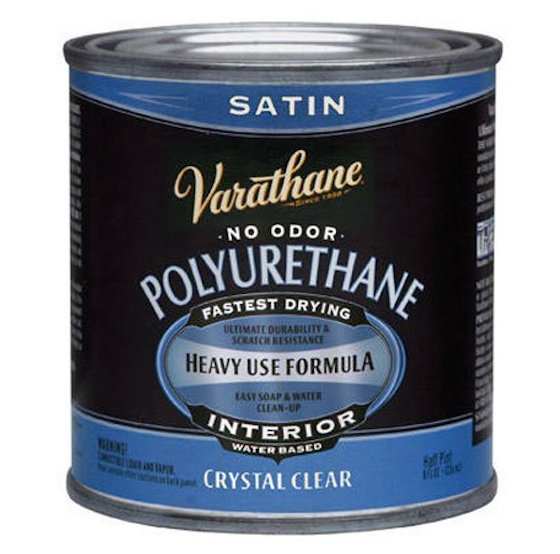
SECRET TIP is to coat the drywall BEFORE finishing with this amazing urethane product. It WILL STOP water from penetrating into the paper of the drywall. CLICK IMAGE TO ORDER IT NOW.
The oil-based urethanes tend to have a slight amber or golden appearance once they dry. If the floor you're repairing has no stain, there's a HUGE difference in the final color of oil-based urethane over water-based.
You absolutely may want to test the color in a tiny area you sanded, no more than the size of a dime so you can re-sand it if you're not happy.
Test Area Match
To see which one best matches your existing floor color, you can sand a tiny area of flooring, about the size of a postage stamp, in a closet or under some large piece of furniture.
Using a cotton swab, apply a drop or two of each of the urethanes to one half of the sanded area. Allow to dry to see which one achieves the best color match.
Staining Challenges
If you have to match a stained floor, realize the sanded wood must be satin smooth so the stain doesn't come out too dark. You may have to purchase several small cans of test stain to get an exact match.
When you apply the stain and it's wet just after you lightly wipe off the excess stain from the wood, the color you see at that instant is the color the stain will be after urethane is applied to it.
How To Stain Video
Watch these two videos to see how to stain the wood flooring. The second video below is very important if you're trying to match a pine, or other softwood, floor. You'll need a wood conditioner for sure.
Different Gloss
Urethanes come in varying shades of gloss. To match your existing floor gloss, you'll have to clean it well to see what it is. If you make a mistake and select the wrong gloss, you can easily re-coat the repaired area until you get a close or perfect match.
Three Coats
You'll need to apply at least three coats of urethane to complete the repair. Read the label to determine how long you need to wait before you apply each coat.
You'll have to lightly sand the urethane before you apply the next coat. Use the tack cloth to get up all dust before you apply the urethane.
IMPORTANT TIP: Apply the final coat of urethane so it stops at the edges of the wood strips and not in the middle of a single piece of wood. This natural break between the strips of wood flooring helps to disguise minor differences in the sheen of the urethane.
If the sheen is not perfectly matched, wait about two weeks and try to burnish it with an old towel to make it blend better with the slightly worn finish of the hardwood flooring immediately adjacent to the repaired area. Believe me, your floor is going to look so much better!
Column 956
3 Responses to Hardwood Floor Finish Repair