How to Mix and Use Rapid-Set Joint Compound

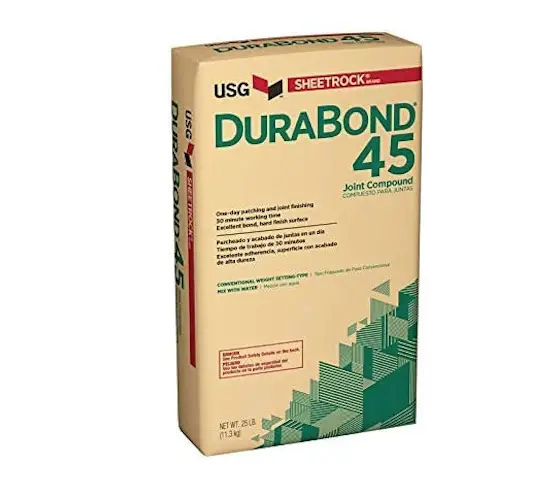
This is a dry-setting joint compound. It's a fantastic product. CLICK or TAP HERE or the photo to have it delivered to your home.
If you've used regular pre-mixed drywall joint and topping compound that comes in a bucket before, then you know all about being patient waiting for it to dry. If it's humid, it can take well over a day for the initial taping or thicker second coat to dry.
The issue is you need each coat to dry or set up before you can apply the following coat. If you're a rookie drywall finisher, this is especially true as you'll probably want to sand off your ugly high spots before you add even more compound to the wall or ceiling.
Would you be amazed if I told you there was a magic bag of powder at just about every hardware store or home center that allows you to tape, second coat, third coat and sand drywall in less than four hours? Yes, start to finish you could completely finish new drywall and have it painted in just eight hours!
Degree of Difficulty: 
Step One: The magic bag of powder is dry setting joint compound. It's made by the same companies that manufacture the pre-mixed joint compound you see in boxes and buckets. This setting compound comes in different set times from 20 minutes up to 90 minutes.
Step Two: If you've never used these wonderful fast-setting compounds before, I urge you to start with the one that sets in 90 minutes. You'll need that time to practice.
Step Three: Stop and read all the written instructions on the bag. Follow them to the letter. Pay close attention to the part about re-tempering or adding water to the compound as you're working with it. These dry setting compounds don't react to additional water like the pre-mixed compounds do. You can't add water to the dry setting compounds once they start to stiffen up.
Step Four: The first time using this material I suggest you only mix up about one quart of volume. That's not much. You should practice with this on a scrap piece of drywall. Suppress the superhero feeling welling up inside you where you think you can master this product the first time. You'll not do well, just like when you first started to ride a bicycle. But with a little practice, you'll get the hang of it, trust me.
Step Five: Mix the product with cold water to start. Warm or hot water will cause the product to get hard faster. You can use this trick once you master how to apply and finish it before it hardens in your pan or bucket. Mix it to the consistency of warm cake icing.
Step Six: You use this product exactly as you would pre-mixed joint compound. You just need to be aware that you should only mix as much up as you can use in half the time it says on the bag. If you have purchased the compound that sets up in 45 minutes, then you only mix up as much as you can apply to the wall or ceiling in 22 minutes.
Step Seven: One of the benefits of using this compound is that it can be wet sanded. It can be finished much like hard-coat plaster or concrete where the compound is troweled as it's getting hard. This means there's no need to have dust clouds swirling around inside your home caused by endless sanding of traditional joint compound.
Step Eight: The wet sanding or troweling process requires practice as you must do this at a specific time when the compound is hard enough to react to the pressure of the trowel, but not so hard as it's completely set up. It's just something you have to experiment with. If you mess up, no worries as the dry setting compounds can be sanded like traditional joint compound. In fact, they have one that's branded as “Easy Sand”.
Summary: These amazing dry-setting joint compounds are ideal for rapid repair projects that have to be done in a day or less. I urge you to try using them and keep a bag on hand in case of an emergency. Keep the bag sealed tightly and store any opened bag in a cool, very dry location so humid air doesn't invade the bag and cause the material to harden in the sack.
Column HT034