Light Switch Wiring Quick Start Guide
Light Switch Wiring Quick Start Guide
DEGREE OF DIFFICULTY: 
If you want to install a new light switch or replace one in your home, it's not hard to do.
Are you terrified of electricity? Many are. The reason is because it's invisible and you don't possess the confidence to do the job. I can't make electricity visible, but I can increase your confidence!
I rate this project one out of five hammers because all you have to do is cut off the power to the switch and use a few basic hand tools. I know you can do both.

If you're one who is really afraid, let's just practice on a switch that's in your hand and use a scrap piece of wire that's not at all connected to any electric circuit. That's the first step in overcoming your fear.
Watch the video below unless you’ve come here from YouTube having watched my video.
Be sure to look at the RELATED CONTENT links at the bottom of this page. Lots of goodies there for you.
REQUIRED TOOLS & MATERIALS:
 |
 |
|||
| |
 |
|||
| |
||||
 |
||||
 |
|
|
||
TIPS:
- Turn ON Light in Room
- Have helper turn off circuit breaker so you see light bulb go OUT or OFF.
- Remove light switch cover plate.
- Unscrew light switch from electrical box and pull it out of box - Do NOT touch screws on side of switch!
- Double check power is OFF using voltage meter.
- Blow out dust and debris from inside of electric box.
- Check insulation on all wires. Look for cracks, splits or melted insulation. Tape defective wires with electrical tape OR call in a professional electrician for help.
- Remove wires from old switch and install new switch.
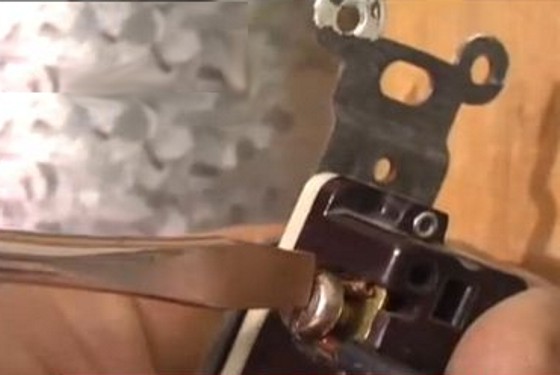
- Loop wires onto screws so as the screw is tightened the end of the wire closes around the screw. WATCH VIDEO for this tip. Very Important!!!
- Optional: Install a band of electrical tape over body of switch isolating screw heads.
- Reinstall switch into electric box keeping ground and neutral wires away from screws on sides of switch.
- Reinstall cover plate.
- Turn on circuit breaker and test new switch.
- Celebrate your Victory!
Please subscribe to my Newsletter and get insider information on the latest home-improvement tips, and products. I guarantee you that my newsletter WILL save you time and money. Frequently, I include your questions with my answers and proposed solutions. Perhaps the best part of the newsletters are my reviews of new products based on my own testing. Click here to read my past newsletters.
It is FREE & EASY.
RELATED HELPFUL CONTENT:
- 3-Way Switch Video
- 4-Way Switch
- 3-Way & 4-Way Wiring Diagram Video
- How to Wire a 4 Way Switch Video
- Contractor Hiring Guides (use promo code EB20 for 20% off)
Column QSG001
6 Responses to Light Switch Wiring Quick Start Guide