Long Lasting Concrete Patch
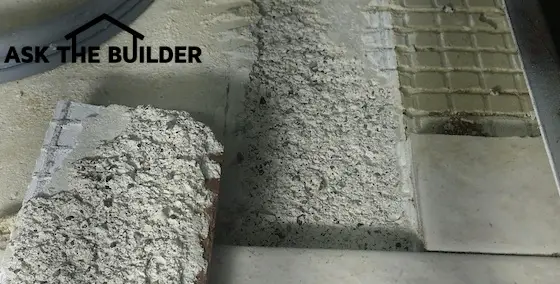
Concrete like this can be patched. It's easy to transform the rough surface to smooth. Copyright 2018 Tim Carter
Long Lasting Concrete Patch TIPS
- Use cement and hydrated lime
- Cement paint is critical
- Pin patches with steel
- Cure the concrete
- CLICK HERE to Get Tim's FREE & FUNNY Newsletter!
Permanent concrete repairs are possible, well, nearly permanent. It's possible to expect a 20 - 30 year life expectancy from a properly executed repair. That isn't so bad if you ask me.
The trick to a long-lasting concrete repair lies in bonding the new material to the old material. Many people think that the new patching material will magically stick to the old concrete.
You need to understand the process of bonding.
CLICK HERE to get FREE & FAST BIDS from local concrete repair contractors.
The Magic Crystals
The concrete that makes up your steps, driveway, sidewalk, etc. is usually comprised of four basic ingredients: water, sand, gravel, and Portland cement. The cement is the glue that holds the sand and gravel together.
It does this my reacting chemically with the water that you add to the mixture.
Hydration
As soon as you add water to cement powder, a chemical reaction begins to happen. It's called hydration. Very tiny crystals begin to form. These crystals interlock with one another and lock into and onto any irregularities of the sand and gravel particles.
This chemical reaction is what's responsible for transforming the plastic mixture of concrete that resembles thick applesauce to solid rock hours later.
The more crystals that form, the stronger the bond will be. This means you don't want to add the minimum amount of Portland cement to your concrete that you're mixing for your repair.
Concrete Glue
Have you ever seen those home repair shows on TV? Some show the fairy-tale couple who mix a concrete batch up and pour it into a hole.
If we could go back and do an autopsy of the patch, we'd probably see lots of stones from the new mix that are touching the old concrete. A piece of stone aggregate is not going to bond to the old concrete.
It's very important to have a uniform amount of cement paste coating the old concrete. This is the primary reason for most concrete patch failures.
Secret Cement Paint
The old method of securing a patch involves simply mixing up a cement paint. I was lucky enough to be taught this trade secret by an old concrete mason when I was a young man.
Nothing could be simpler. You take Portland cement, add water until you have a paint consistency.
In the first three minutes of this video I show you how to mix up a batch of cement paint:
This cement paint is then brushed onto the old concrete surfaces where the new concrete material will touch it.
Great Concrete Patch Mix Video
Watch this video to see what the concrete mix should look like right before you pour it or use it as a patching material. I was mixing it to use to make large in-ground piers for a large shed.
It doesn't matter. I would have mixed it the SAME if I was doing a small repair.
Clean, Dust-Free and Damp
The area to be patched must be free of all loose stones and grit, free of all dust, and finally slightly damp.
Just before you're ready to install the concrete patching compound, you simply paint a thin coat of the cement paint onto the clean, solid, damp old concrete.
Immediately cover the cement paint with the patching compound. Never allow the cement paint to dry. It can dry rapidly if you're working in the sun on a hot day.
CLICK HERE to get FREE & FAST BIDS from local concrete repair contractors.
Bonding Agents
If you chose not to use cement paint, you can use many of the acrylic bonding agents that are available. These chemicals are not much different than the resins used in paints.
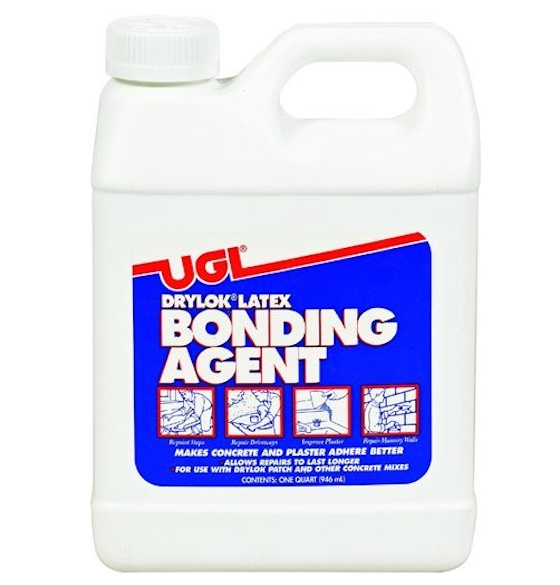
Here's a great bonding agent for concrete. It's affordable and works well. CLICK THE IMAGE NOW TO ORDER IT.
There are bonding agents that you add to the patching compound, and there are bonding agents that you paint onto the old concrete. You can actually use both, if you wish. These compounds work very well if you follow instructions to the letter.
Some of the bonding agents you paint on the old concrete must cure slightly before you add the patching compound. They are usually a milky white color when you paint them on.
Depending upon the temperature, wind, and humidity, they then become clear. When the agent turns clear you can then add the patching compound.
Pin the Patch
Large concrete patches such as a step, corner of a driveway, sidewalk, or patio must be attached to the old concrete with a mechanical pin. The cement glue or additives will not do the job on their own.
I've successfully employed standard reinforcing steel bars for years. They're inexpensive, easily obtainable, and the new concrete readily grabs onto the bumps and knobs on the reinforcing steel.
The rough profile of the bar also is an advantage when you drive it into the old concrete. As long as you drill the right sized hole for the rod it is virtually impossible to remove the rod. In fact, as you drive the rod into the old concrete it will feel tighter than when you drive a nail into wood.
Smaller galvanized nails can be used for pins as well for small repairs. Just size the pin for the amount of concrete you're installing. You want at least an inch of concrete to surround a pin.
Concrete Pins VIDEO
Watch this video below please to see what I'm talking about with respect to pins to hold one concrete patch to another.
This video is number five of a seven-part series about putting in a trench drain. In the video I wanted to show a homeowner how to deal with a situation where they ran out of concrete and how to hold the old to the new.
In this particular case, there was no need for the cement paint because the second layer of concrete I was adding was going around the entire drain.
Pay attention in the video how the pins are at opposing angles so they act like anchors once the new concrete hardens around them.
Installing the Pins
I've had the best luck in my repair work when I used 1/2 inch reinforcing steel driven into a 1/2 inch hole. Hammer drills quickly drill holes into old concrete.
If you don't own one, they can be rented at any tool rental shop. You can buy one if you plan to do lots of work. It will pay for itself.
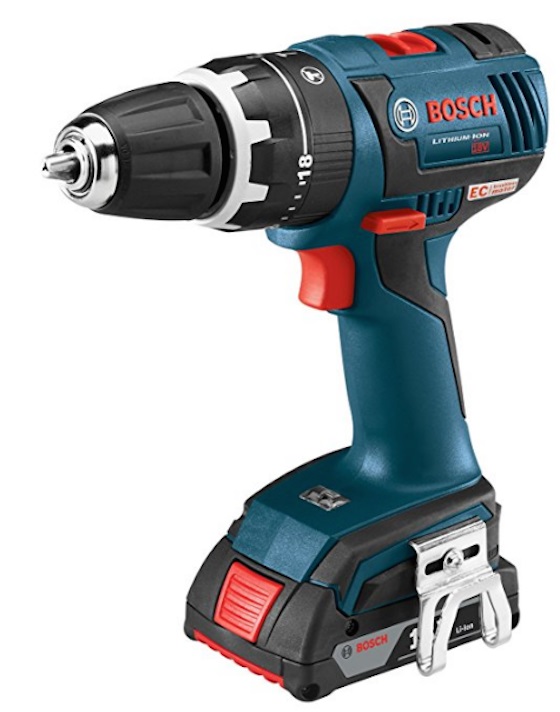
I own this hammer drill and it's a top performer. The lithium-ion batteries provide all sorts of power. CLICK THE IMAGE to BUY IT NOW.
I prefer to drill at least a 3-4 inch-deep hole when possible. Try to stay away from the edges of the old concrete.
You want to drill directly into the center of the old concrete. Use a four-pound, or heavier, hammer to drive the steel pin.
The length of the pin should be predetermined. In other words, don't cut off the steel after it has been driven into the old concrete. Always try to maintain a 1 inch or better coverage of patching material over the pin.
If you have the time, I would also recommend that you paint the pin with a good metal primer. Rebars can and will rust within your concrete patch. If it gets bad enough, the rusting pin will expand and actually crack the patch! The extra time spent painting the steel pins is worth it.
X-0 Rust Paint
Here's an exceptional paint to use to paint steel rebar. It already has a primer in it so you can use it on bare steel.
It comes in spray cans, quarts or gallons depending on how much you need. CLICK HERE to get X-0 Rust paint.
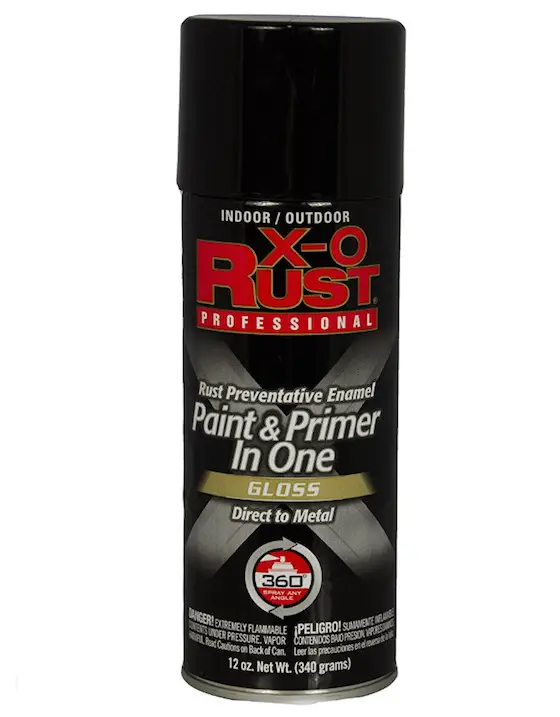
Here's a spray paint that's great for steel beams and columns. It contains a metal primer. This brand also is available in quart or gallon cans if you have LOTS of steel to paint. CLICK THE IMAGE TO ORDER IT NOW.
Concrete Repairs in General
Loose paving bricks, flagstone, marble, sandstone, etc. can be successfully repaired. Keep in mind the earlier points concerning concrete paint, dust, and a rich patching compound.
CLICK HERE to get FREE & FAST BIDS from local concrete repair contractors.
Best Repair Weather
Weather is also important. How many people think that hot or warm, dry, breezy weather is the best time to repair concrete? Raise your hands now.
This is the worst time to do these repairs! Hot sun and wind take the water out of concrete too fast. Water needs to be retained by the concrete for weeks so the magic crystals grow and grow.
Temperatures around 60 F with overcast skies and no rain forecast are the best conditions to do any concrete work.
Hydration Water
Remember earlier, when I said the cement needs water to start the chemical reaction that starts the crystals growing? The cement also needs water to maintain the chemical reaction.
How long? Well, let's say for 2 - 3 months or so. In actuality, it's really longer.
If you mix up a patching compound batch, install it in hot breezy weather, the water may leave the mix before enough crystal have grown. The patch will be very weak. It will crumble.
Has happened to you? Now you know why.
Dampen the Old Concrete
Take the time to dampen the area to be patched. Concrete absorbs water. You want to pre-load the old concrete with water so it doesn't suck too much water out of the cement paint and the repair compound.
Cure the Concrete
Take the time to cover your work with plastic after you are finished. You can also spray the patch with water after it has become stiff. Do this for 4 - 7 days and you will be amazed at how strong your patch will be!
If the patch is out in the open, try to shade it from the hot sun as well. You can do this by covering the patch with a piece of plywood or OSB that creates nice shade.
Mixing - Easy as 3 - 2 - 1 (Well maybe 1.5)!
Concrete patching material can be purchased two ways: premixed in bags or raw materials that you have to mix. The raw material route is almost always cheaper by a long shot. Plus, you'll have the necessary pure Portland cement on hand.
You need the Portland cement to make the cement paint.
Gravel Size
One thing you always need to keep in mind is the size of the gravel you need. If you're patching a deep hole, say 3 inches or deeper, you can use 1-inch gravel. This gravel has pieces of stone ranging in size from large grapes to small green peas.
Common sense would tell you that a shallow hole just can't be patched effectively with a mix containing large gravel. Shallow patches will require pea gravel or coarse sand!
Mix Formula
When you do use gravel in your mix, use these proportions:
3 parts gravel
2 parts coarse sand
1.5 parts cement
0.5 parts hydrated mason's lime
The old rule of thumb was always 3 - 2 - 1. However, since the cement is the glue and you only want to do the patch once, why not add a little extra cement?
Hydrated Lime - Secret Ingredient
Do you recall the great book written by J.R.R. Tolkien - The Fellowship of the Ring? In it was a powerful quote by the character Galadriel,
“And some things that should not have been forgotten were lost. History became legend. Legend became myth. And for two and a half thousand years, the ring passed out of all knowledge.”
This applies directly to hydrated lime. It's rapidly becoming a myth in the building industry. Hydrated lime is an amazing material that makes concrete stickier and it has mystical self-repair capabilities of micro-cracks that might develop in the concrete
I always mix hydrated lime in my repair mixes to boost the holding power of the mix.
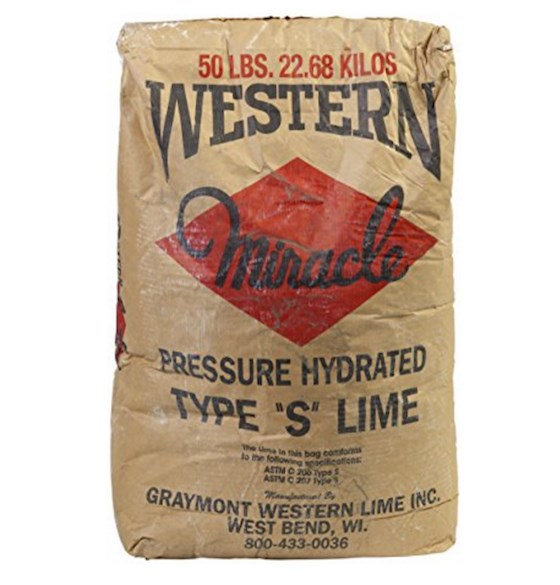
This is excellent hydrated lime. It's a fine white powder and it's going to look great on your home. CLICK THE IMAGE TO ORDER SOME RIGHT NOW.
Thin Patches
If you're doing a stucco patch or replacing a flagstone, brick etc., you will not use gravel. Then mix:
- 2.5 parts medium sand
- 1 part cement
- 0.5 parts hydrated lime
Add just enough water to make the mix like stiff applesauce.
This will be a great mix. The patching compound should be at least 3/8 inch thick after it's applied.
Finishing Concrete
Finishing concrete is easy. It takes two things - a little time and some patience. Decent tools are recommended, but aren't always necessary.
Believe it or not, a simple block of wood will produce excellent results. I've done it on many occasions.
Sand to the Surface
To achieve a nice sand finish (the easiest), you need to drive the gravel pieces at least 1/4 inch below the surface. This can be done by rubbing a board across the top of the concrete patch back and forth in a seesaw fashion. You can also lightly pat the concrete just after it's poured or put into the patch form.
Do this several times after you initially pour the concrete. This board removes excess concrete and brings sand and cement to the surface.
Patience
Now you must be patient. Remember the magic crystals?
Every minute that passes, more and more grow. The only issue is the air temperature. The hotter it is and if the sun is beating on your concrete, the faster the crystals will form.
If it's cold out and the materials and mixing water were cold to start with, it can take hours and hours for the concrete to start to get firm enough to finish.
Pro Results
To achieve really nice finish results, enough crystals must form so that the surface of the concrete is firm but plastic. It's hard to describe.
But watch this video to get an idea of how firm the concrete must be so you can trowel it:
When you initially pour the concrete, the mix is fluid. This is no good, as your tool makes marks.
But if you wait too long, the concrete will get too hard and you'll have problems.
You simply need to watch over and experiment. Temperature and humidity play a big part in the set time. Watch yourself in hot weather. The concrete can get away from you!
No Added Water
NEVER trowel back in bleed water which will in many cases appear at the surface. Bleed water is what makes the concrete look as if it is sweating.
Bleed water happens because water is the lightest of the four ingredients in concrete.
Leave this water alone! It will evaporate quickly in most cases. Troweling it into the surface will weaken the surface of the concrete. You're diluting the cement! This is the primary cause of concrete scaling!
This is the same reason you don't want to add too much water to your concrete mix making it easy to install. Too much water weakens the concrete.
Smooth Steel-Trowel Finish
If you desire a smooth, steel trowel finish, you must first finish the surface and achieve a sand finish. This is done by gently swirling a wood float, block, or magnesium trowel over the stiffening concrete.
Once a few more crystals grow, the concrete can be finished with a steel trowel. This trowel and skilled workmanship bring the cement paste to the surface. As this hardens, you can get a surface as slick as glass. It's truly and art form. Don't expect perfect results your first try.
CLICK HERE to get FREE & FAST BIDS from local concrete repair contractors.
Column B123
20 Responses to Long Lasting Concrete Patch