Ceramic Wall Tile Installation Tips
Ceramic tile comes in square or rectangular pieces. Modern manufacturing makes most of them very consistent in size.
The grout lines that are created by the tile, unless you create an offset pattern with the tile, end up being straight as well.
This means you need to be perfect in every way through the entire installation process because the tile will telegraph mistakes or sloppy workmanship.
That's your warning - no shortcuts.
Plumb Walls
Nothing looks worse in a ceramic tile job than edge or corner tiles that grow or shrink because a wall is out of plumb. High-quality ceramic tiles are made to exacting standards.
If you start out level and plumb, the tiles will follow suit. If a wall is out of plumb, you will soon be cutting progressively larger or smaller tiles as you go up the corner.
If you have an opportunity to shim the walls or you are building new, get the walls right! Use the best studs with no crowns in them.
CLICK HERE to get FREE & FAST BIDS from local ceramic tile contractors.
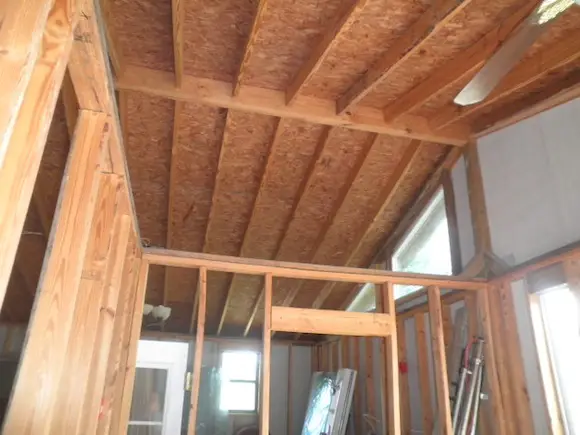
Steel Studs
Each year lumber companies that grow trees seem to hybridize the trees more and more so they grow faster.
This fast growth can lead to lumber that's dimensionally unstable and is more susceptible to bowing, twisting and misbehaving.
That's why if I was going to install lots of ceramic tile on walls and I wanted it perfect, I'd use steel studs.
Steel is straight. Period.
Drywall or Greenboard?
Tens of thousands of ceramic tile jobs around the nation are failing because the tile was installed over the wrong substrate. Back in the 1970's, I was guilty of installing tile on both drywall and then waterproof (that's how the distributor marketed it) drywall that had a green paper.
Both materials are inferior products for a long term installation in a shower or a bathtub area. Water passes through grout seams and simply causes the paper covering the gypsum cores to deteriorate.
If you must use the green paper-faced drywall, be sure to apply at least two coast of water-based urethane on the drywall just after it's screwed to the walls. This urethane will seal the paper and allow the drywall to last decades longer than it normally would.

I've had excellent results with this clear water-based urethane. It dries FAST. CLICK THE IMAGE TO ORDER SOME NOW.
Cement Board
We know that drywall is an inferior base for wall ceramic tile in a bathroom. It will just barely pass for a kitchen backsplash.
The best choice is cement board. Ceramic wall tile that is properly glued or mortared to dust free cement board will last indefinitely. Install this board with galvanized roofing nails or screws.
Old Houses
The ceramic tile in old houses, those built in the 1960's and going back in time, had ceramic tile that was set in concrete mortar. This mortar was troweled on walls and Portland cement was used to adhere the tile to the fresh mortar. The mortar was waterproof. That's why you rarely saw any tile fall off an old tile wall.
Many cement board manufacturers recommend that you tape the seams with fiberglass tape and thinset. I find that this creates a nasty hump in the wall that telegraphs right through the tile. There's another way to successfully treat the seams and edges of cement board.
Caulk Before You Tile
I prefer to hold the cement board up from the tub edge 3/16th inch and silicone caulk the gap. I also like to create an 1/8 inch gap in the corners and at all other cement board seams.
I caulk those as well with 100 percent silicone caulk BEFORE any tile is installed. My personal shower and tub tile has had silicone sealed joints for twelve years with no leakage whatsoever.
How Much Material?
Ceramic tile is commonly sold by the square foot. Calculate how many square feet you intend to cover and add seven percent for waste and cuts.
It's also a good idea to have at least five square feet of tile left at the end of the job. A future homeowner will thank you!
Trim tiles are often sold by the piece or lineal foot. These can be expensive so calculate these closely. It's wise to end up with two or three of these leftover as well.
CLICK HERE to get FREE & FAST BIDS from local ceramic tile contractors.
Adhesive Types
The most common adhesive used is an organic one that's water based. It's easy to work with and holds tile to cement board very well. It has a thick consistency and when fresh is easy to work with a notched trowel.

This is a very high-quality notched trowel. I've had trowels like this one and they can last for many many years. CLICK THE IMAGE NOW TO ORDER THIS TROWEL.
You can also use thinset mortar. This is simply cement mixed with fine silica sand and often fortifiers.

Thinset is just silica sand and Portland cement. It's dry and needs water. CLICK HERE TO ORDER THIS THINSET NOW.
Thinset takes a little practice to get used to. Only mix up as much asy you can put on the wall and cover with the tile in 30 minutes. NEVER add water to thinset if it starts to get hard in the bucket. This will ruin it's adhesive qualities!
Tile Tools
What tools do you need to complete a simple tile job? Here's a list:
- tape measure
- pencil
- tile cutter
- nippers
- a 1/4 by 1/4 inch v-notched trowel
- a hammer
- some 6d finish nails
- 8 lineal feet of straight 1/4 inch wood lattice strip
- putty knife
- 3-inch wide-bladed scraper
- grout sponge
- rubber grout float
- several buckets
- accurate 4 foot level
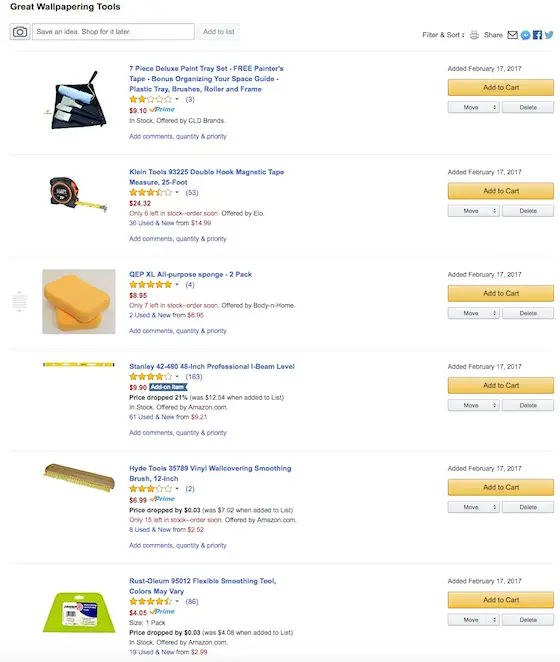
Click the image below to BUY all, or some, of the tools in the above list.
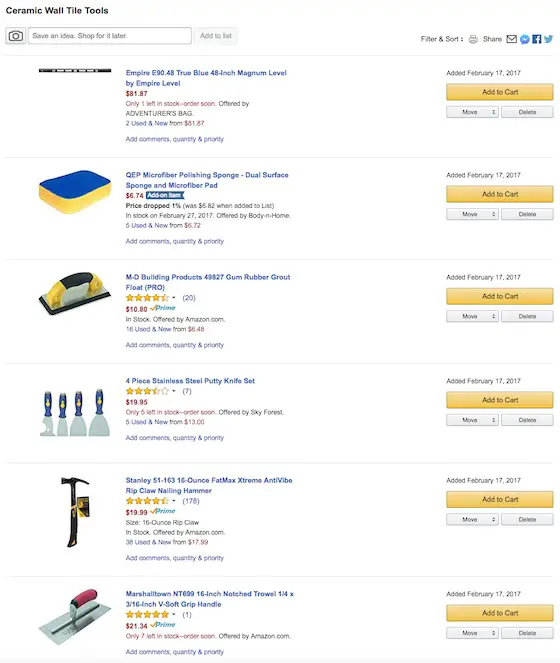
CLICK THIS IMAGE NOW TO ORDER ALL THE TOOLS YOU NEED TO DO CERAMIC TILE.
Which Wall First?
It is time to tile. Which wall are you going to do first if you're doing a standard tub and shower area?
As you enter your tub or shower you generally are facing a wall. On a standard tub it's the 5-foot-long wall that you look at.
This is where you begin. Why?
When you fit the final cut pieces on the two short walls, you'll not see the gap as distinctly as you would on the long wall. It has to do with the angle at which your eye is looking at the corner as you stand outside the tiled area.
CLICK HERE to get FREE & FAST BIDS from local ceramic tile contractors.
Layout
Different walls are laid out differently. You want the tile to be balanced wherever possible, but you also want to minimize cuts and narrow pieces.
Find the center point on the long 5-foot wall of your tub area. Using two pieces of tile with no adhesive, start the edge of the first tile at the mark and begin to leap frog the tile going towards one corner.
You'll eventually end up with a partial tile. If the size of the piece is less than 1/3rd of a full tile, then you should start your first tile so that the CENTER of the tile is on your halfway mark on the wall.
This will ensure that you end with a fairly large tile as you end at each corner.
The side walls are different. When the tile ends outside the shower or tub area, you usually use a trim tile.
IMPORTANT TIP: You don't want a cut tile next to the trim tile. You always have a full tile start adjacent to the trim tile and then work towards the inside corner of the large wall.
Trim Tile
Determine where your trim tile will be. For standard tubs, I often have the trim tile hug the front panel of the tub.
Measure the width of your trim tile and make a mark where the grout line will be that separates the edge of the trim tile and the first full standard tile. You need the starting line here because the full tile goes up first and the trim tile is last.
Plumb Lines
Once you've determined your starting points, use a sharp pencil to mark perfectly plumb vertical lines. Your tile is going to follow these lines up the wall no matter what so they better be right.
First Row
Before you can start, you need to determine where your first horizontal row will start. Tubs, shower pans, etc. are never perfectly level.
They can be twisted or simply put in by a not-so-exact plumber who has never done tile work! Tile is unforgiving. You must install the tile level and plumb.
I like to install my first row of tile about 1 and 3/4 inches above the tub or shower pan surface. This way I can get two cut pieces of tile from every full tile if I am using standard 4 inch tile.
Using the level, you mark a perfectly level line on all three walls. Take your lattice strip and tack it into place on this line. The lattice strip serves as a shelf that supports the tile as you lay it up the wall. Once you finish at the top of the wall, you remove the lattice and install the pieces against the tub last.
Spacing the Tiles
How do you keep the grout lines straight? Simple, standard wall tiles have very small bumps on each edge that create the thin lines for your grout. Old tiles didn't have this feature and tile setters used string in between their tiles.
How High?
How high up the wall should you go? I prefer to end up about 6.5 feet off the bathroom floor. However, your plumber may foil this plan. Keep in mind the shower head arm. Tile looks better if you stop below this point or 4 inches above it.
Mounting Accessories
Towel bars, soap dishes, etc. are not simply glued in place. You need to knock a little hole in the cement board directly in line with the casting holes you often see behind these pieces.
Mix some plaster of Paris and quickly gob it into both holes and stick the accessory in place. It's OK to use adhesive in conjunction with the plaster. You need to tape the accessory in place for 24 hours or it will fall from the wall.
Soap Dishes in Weird Places
I always put a soap dish on the wall directly above the water faucet.
Think. You face the water valve as you shower.
Put the soap dish where it's easy to reach - right in front of you!
You can have more than one soap dish in a tub or shower area. The old soap dishes were down low on the long tub wall because it was convenient for a person sitting down in the tub.
Many people seem to prefer showers now instead of sitting in dirty, oily water.
Marble Shampoo Shelves
White marble is very inexpensive. I love installing corner shelves in bath tubs and long, 3-inch-wide shelves in 36 inch shower stalls.
In a square or rectangular shower stall, the marble is cut tight to the width of the substrate and it rests on the narrow ledge created by a row of tile.
These ledges are perfect for shampoo!
The Right Sponge
Before you grout, get the right sponge. Tile stores sell these. The sponge must be one with small holes and no sharp edges.
All corners and edges must be rounded. Sharp edges dig grout from the tile joints.
Newer sponges have a microfiber on one side that can come in handy when cleaning off grout haze the day after you grout.
Grouting
Grouting is simple. Mix it up until it resembles cake icing.
Apply it with the rubber grout float. Use the float to remove as much as possible from the wall.
Always strike the grout joints at a 45 degree angle so you don't bulldoze grout from the joints. Use a sponge that has all the water squeezed from it to wipe excess grout from the walls. Rinse the sponge frequently and use light stokes.
IMPORTANT TIP: The biggest reason grout fails - and rookies often have grout failures - is because they mix the grout too thin and/or they use too much water when they are rinsing the grout from the joints. The water thins the cement in the grout and makes it weak.
Also, work in small four square foot sections as you begin to grout. Once you get the hang of it you can do larger sections. Rinsing the sponge frequently and using light pressure as you glide across the joints is the key to good looking, consistently sized joints.
Caulking
The corners and the contact point between the first row of tile and the tub and shower should not be grouted. You can scrap out the grout with a thin screw driver before it gets hard, as it is virtually impossible to keep grout from getting into those areas. These places need to be caulked.
Use a mildew-proof water-based caulk for these locations. They are available.
Don't caulk these seams until the grout has dried for 24 hours. Before you caulk, use an old cotton T shirt to polish the tile. This will remove all grout dust and film from the tiles.
Related Articles: Cutting Ceramic Tile, How To Install Ceramic Tile
CLICK HERE to get FREE & FAST BIDS from local ceramic tile contractors.
Column B226