Up next in 10


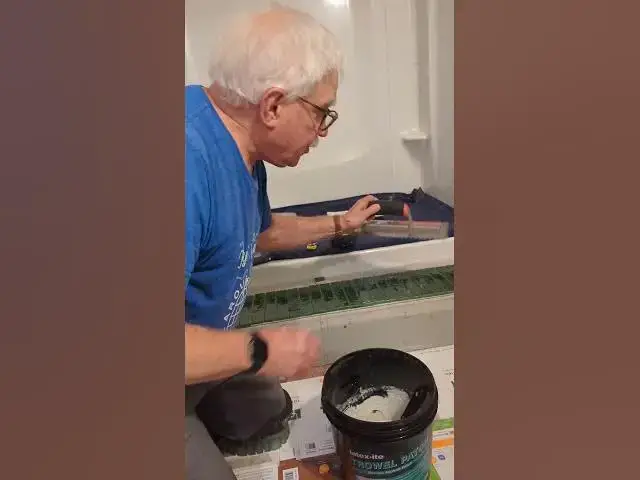
Install Ceramic Bathroom Tile Video #777
Show More Show Less View Video Transcript
0:00
Hi, Tim Carter again. I think this is
0:03
video seven or eight in the series. I've
0:04
lost count. Doesn't matter. Doesn't
0:06
matter. Just look at the playlist. All
0:07
right, we're getting ready to put the
0:09
tile on. We've cut all the pieces that
0:11
are going to go on the face of this
0:13
step. And those are the first pieces
0:15
that have to go in because I want the
0:17
finished pieces to overlap at the top.
0:20
All right. So, I'm using thin set.
0:24
I like thin set versus mastic. Uh thin
0:27
set is waterproof. fits, but it's cement
0:30
and so it bonds really, really well. So,
0:34
that's what I'm using. You may use
0:36
mastic. Just read what the manufacturer
0:38
of the tile says to use in this job
0:41
because of the tile we're using. I'm
0:42
using a quarter by quarter inch uh
0:45
float. And it's really important when
0:47
you put it on that you maintain I'll
0:50
just kind of hold it this way like about
0:53
a 45° angle. If you flatten it out too
0:56
much, you're not putting enough thin set
0:57
on, and you don't have to go at 90. So,
1:00
bring it across. So, you just want to
1:02
make sure that you uh get enough thin
1:04
set on. And of course, my strokes,
1:07
because we're putting this tile
1:08
vertically like this, my strokes are
1:12
going to be this way so that all of the
1:14
tiles embed, you know, across multiple
1:17
lines. All of these lines, you know,
1:19
right here. So, that's what we're going
1:21
to do. Time to put the thin set on.
#Hobbies & Leisure
#Bathroom
#Home Improvement
#Flooring